How to Draw a Bow: Stance, Grip and Anchor Point
A safe bow draw starts with a stable stance, light bow hand grip, straight but unlocked bow arm, smooth draw, and the same anchor point every shot. Equipment should allow safe, repeatable form, and the string should never be released without an arrow safely pointed at the target.
By RaiS. Reviewed by RaiS. Published . 7 min read.
Research and drafting were assisted by AI. RaiS checked the facts against the sources below and approved this page.
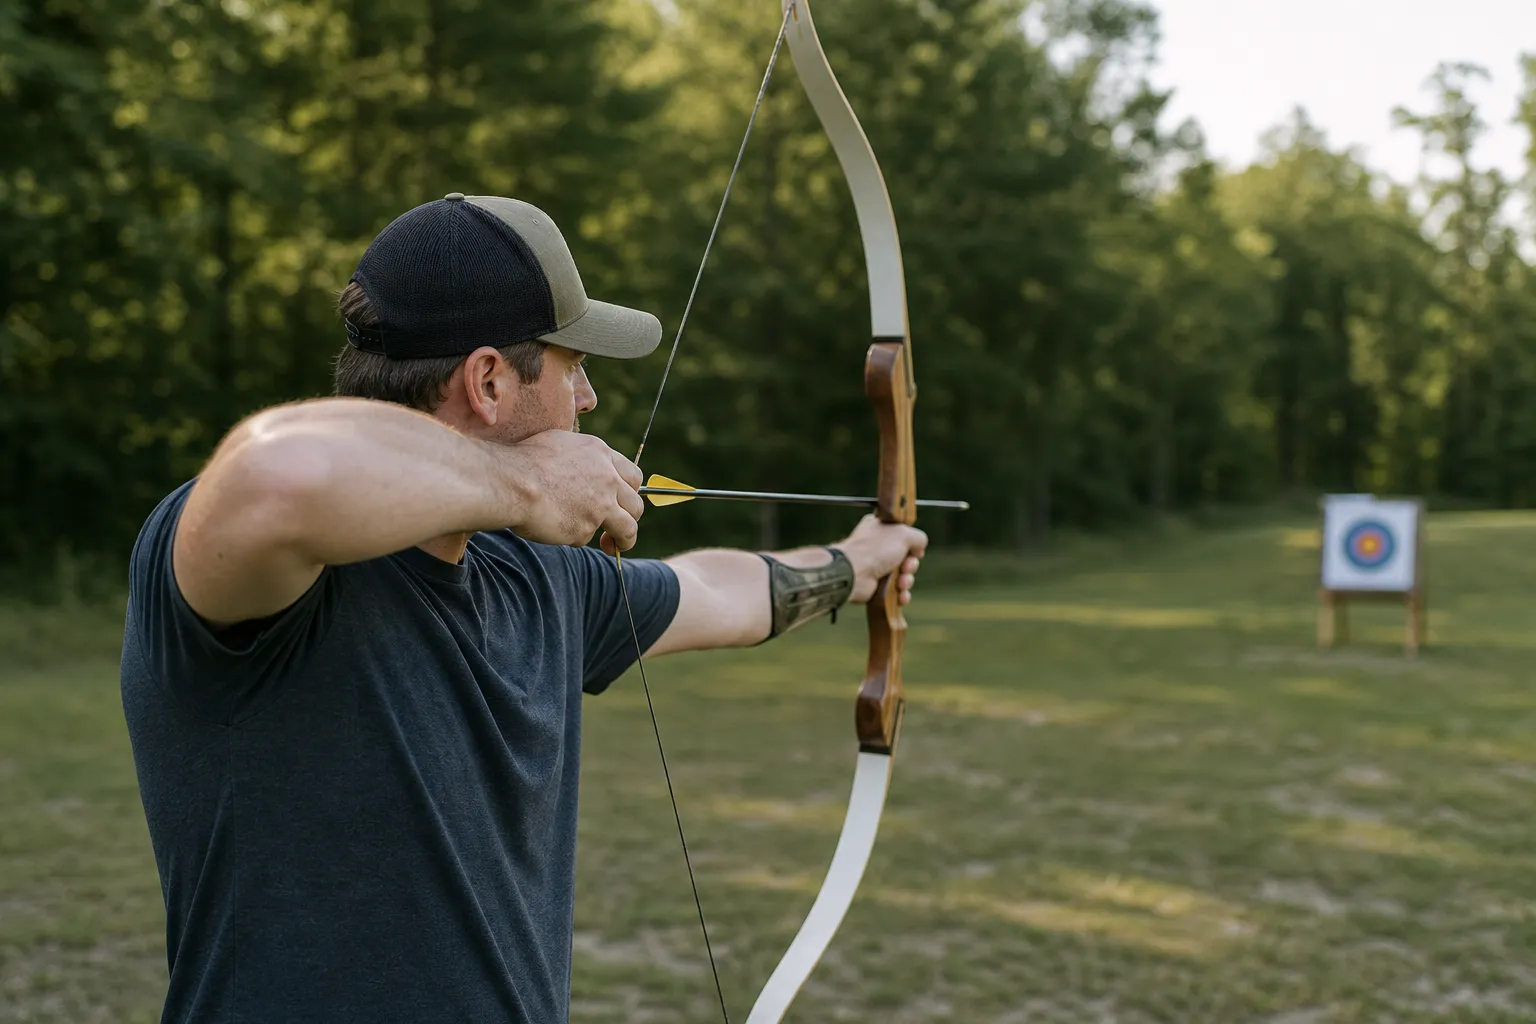
To draw a bow safely and consistently, start in a stable stance, point the bow toward the target, use a light bow hand grip, keep the bow arm straight without locking it, draw smoothly, and bring the string hand to the same anchor point every shot. NFAA range guidance says to keep the bow pointed toward the target when drawing.
Safety before form
Drawing practice belongs on a safe range or in a safe shooting setup, with the bow pointed toward the target. NFAA range guideline examples say to always keep the bow pointed toward the target and to draw with the arrow parallel to the ground.
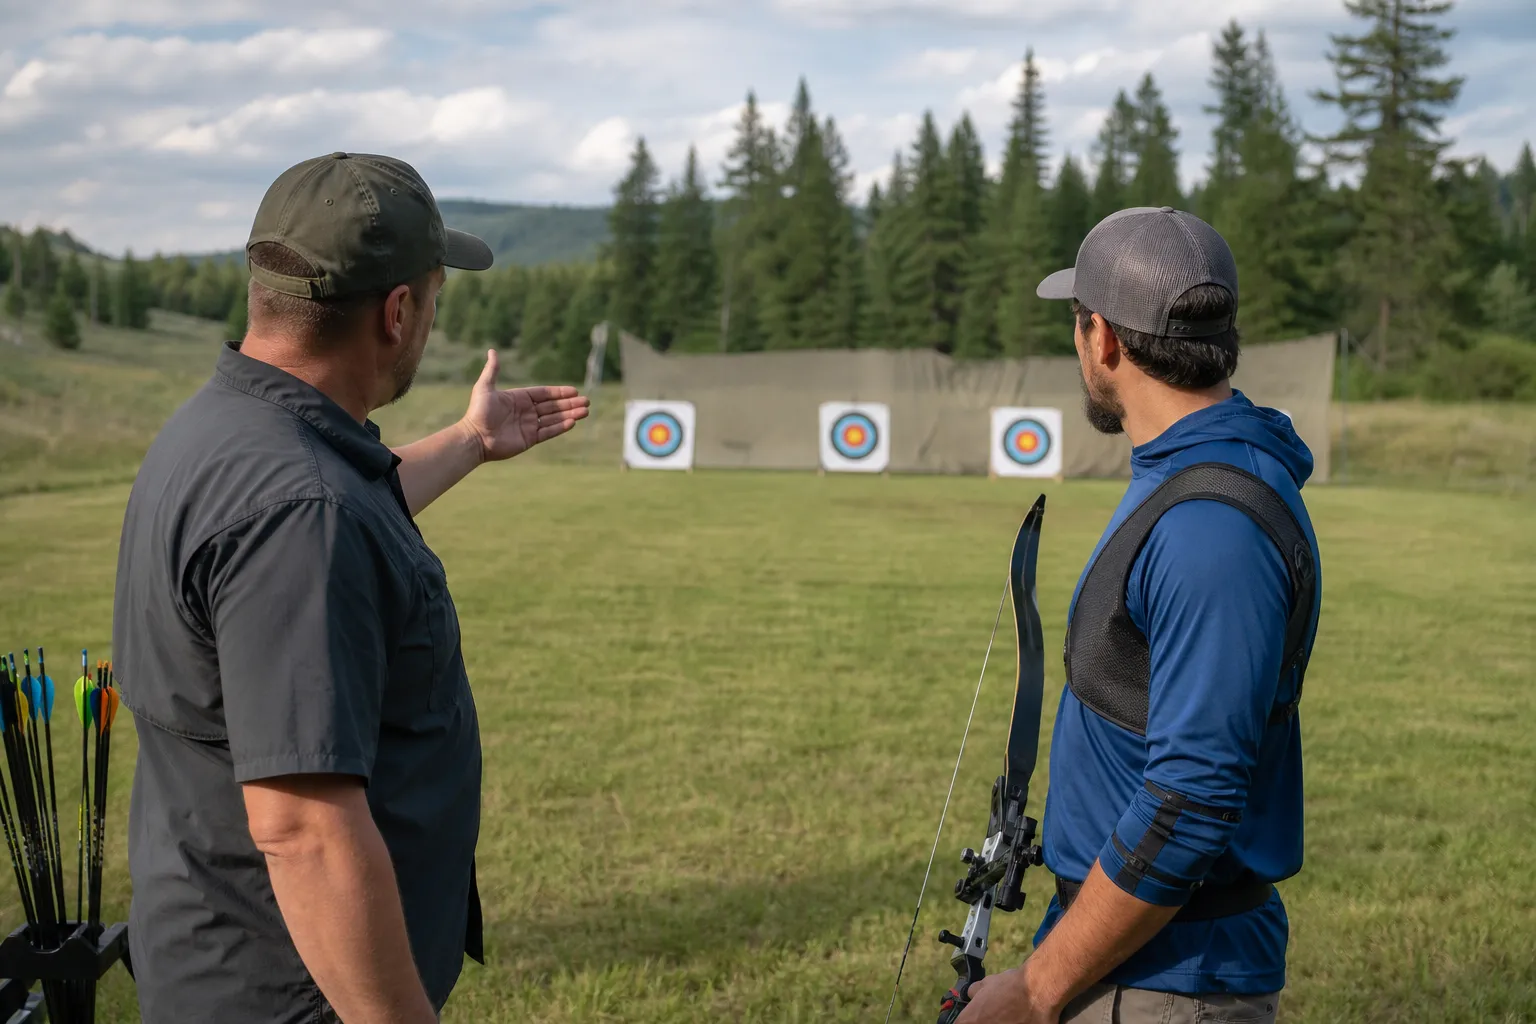
USA Archery’s range rules poster says the bowstring should be released only when an arrow is nocked and safely pointed toward the target. NFAA range guideline examples also say to always have an arrow nocked when drawing to avoid dry fire.
Hoyt defines a dry fire as drawing and releasing a bow without an arrow. Hoyt warns that shooting without an arrow can severely damage the bow and possibly injure someone because the arrow normally absorbs much of the bow’s stored energy.
NFAA equipment rules also prohibit drawing in any manner that, if accidentally released, could send an arrow beyond a safety zone, overshoot area, backstop, or other safety arrangement. In plain terms: do not sky draw, do not draw at an unsafe angle, and do not practice the draw where an accidental release would be unsafe.
The basic shot sequence
A repeatable shot process matters because archery form is built on consistency. For a beginner, the goal is not to draw fast or forcefully. The goal is to set up the same body position, draw the same way, reach the same anchor point, and finish the shot the same way.
A simple beginner version looks like this:
- Set your stance.
- Nock the arrow only when it is safe to shoot.
- Set your hook and grip.
- Stand tall and align your body.
- Raise the bow toward the target.
- Draw smoothly.
- Bring the string hand to anchor.
- Transfer into a steady hold.
- Aim.
- Release and follow through.
- Notice what happened and reset.
Stance and posture
World Archery describes a beginner stance as feet parallel on the shooting axis and about shoulder width apart. Its beginner manual says the purpose of the stance is consistency, a clear spatial relationship to the target, and stability.
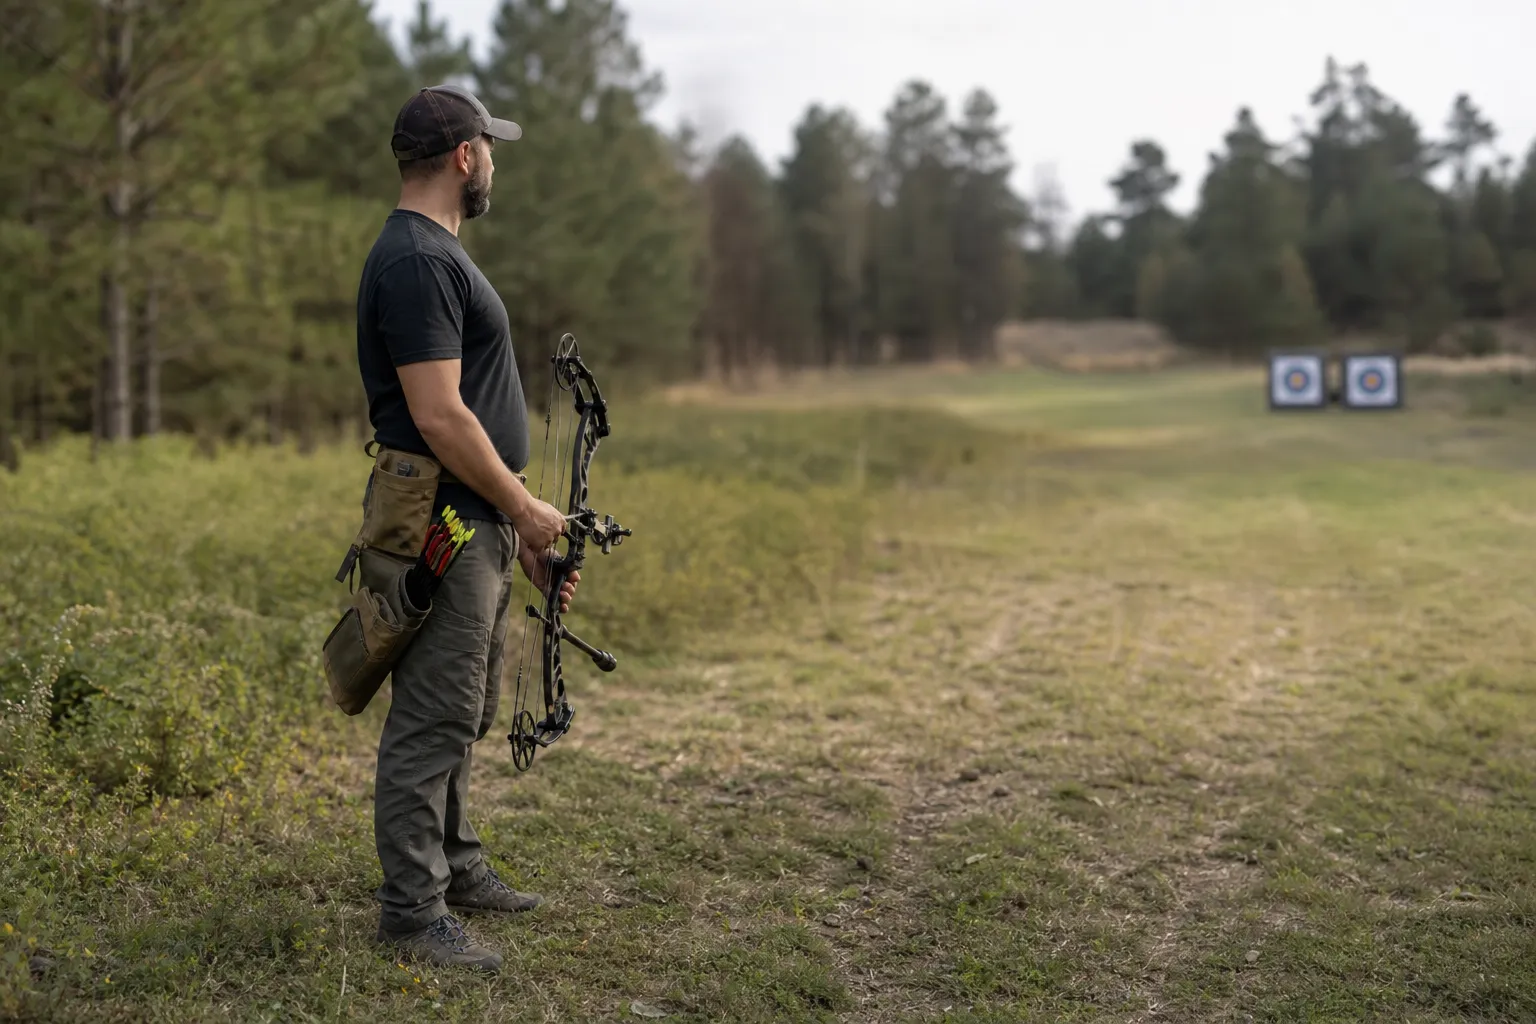
For a new archer, that means a square, stable stance is a good starting point. Place your feet about shoulder width apart and stand tall in a balanced posture.
As the shot begins, keep the body upright. Do not lean your face toward the string. Let the draw bring the string hand to you.
World Archery also explains that the stance supports the push and pull efforts of the shot. In practical beginner terms, your feet and posture should help you repeat the shot without swaying, twisting, or reaching.
Hook, grip, and bow hand
A good grip is light and stable. ATA beginner lesson guidance describes a light grip between the thumb and first finger, with the other three fingers relaxed and away from the bow.
World Archery beginner award material also says a passive bow hand and fingers help the arrow launch cleanly without extra force on the riser that could create torque.
A useful beginner check is this: the bow should feel supported, not squeezed. If the hand is clenched, the bow can be steered by the hand instead of supported by alignment.
Bow-arm position
ATA beginner guidance says the bow arm should be straight without locking the elbow. World Archery beginner award material describes the bow forearm as straight but not stretched, with the bow elbow fixed and straight.
That balance is important. A bent, collapsing bow arm can change the draw and anchor. A hyperextended or locked feeling can create tension and make the shot harder to repeat.
How to draw the bow
Raise the bow toward the target, then draw smoothly. NFAA range guideline examples say to keep the bow pointed toward the target and draw with the arrow parallel to the ground.
ATA beginner lesson guidance tells instructors to have archers pull the bowstring straight back and keep the line even with the forearm.
Do not think of the draw as a quick arm yank. For beginners, a useful way to feel the draw is to keep the front side steady, keep the string side moving straight back, and avoid reaching the head forward. The draw should bring the string hand to the face, not the face to the string.
Anchor point: bring the string hand to the face
The anchor point is the repeatable place where the string hand settles at full draw. ATA beginner lesson guidance ties consistency to drawing the arrow back to the same place every time.
World Archery’s beginner manual evaluation criteria tell beginners to let the string hand land on the face rather than reaching the chin or lips forward to the string. This is one of the most useful beginner habits: keep the head and body still, and let the drawing motion bring the hand into place.
For bow fit, ATA beginner lesson guidance says the bowstring should touch the archer’s nose at full draw. ATA also says a bow’s draw length is too short if the string stops short of the face, and too long if the archer can pull the string past the face.
Your anchor should be consistent enough that the next steps, holding, aiming, releasing, and follow through, can happen without a late adjustment. If the anchor changes from shot to shot, the shot changes too.
For equipment fitting details, use our How to Measure Draw Length guide. If you are learning on a traditional setup, also see our Recurve Bow guide.
Transfer to hold, aim, release, and follow-through
The hold part of the shot is not just freezing in place. It is keeping alignment while aiming and preparing for a clean release.
A steady finish comes from maintaining posture, letting the string hand finish naturally, and avoiding any grab at the bow.
World Archery beginner award material describes follow through on the string side as the string hand moving backward in the shooting plane after release. It also says the bow hand and fingers should stay passive so the arrow launches without extra force on the riser.
Keep your posture and aim through the release. After the shot, notice what stayed consistent and what changed.
Why draw weight must fit the archer
Draw weight should allow smooth, repeatable form.
If the bow is too heavy for your current strength, form usually suffers first. The draw may become uneven, the head may move toward the string, the bow arm may collapse, or the anchor may change.
Choose equipment that lets you keep safe, repeatable form.
Why draw length must fit the archer
Draw length affects where the string stops and how comfortably you can reach anchor.
ATA beginner lesson guidance gives two simple fit warnings: if the bowstring stops short of the archer’s face, the draw length is too short; if the archer can pull the string past the face, the draw length is too long.
If you are still learning your fit, start with draw length, anchor consistency, and safe form before worrying about speed or power. Use the How to Measure Draw Length guide as your next step.
Common beginner mistakes to avoid
Avoid these form problems, each of which conflicts with the beginner coaching points above:
- Drawing without an arrow nocked. NFAA guidance says to always have an arrow nocked when drawing to avoid dry fire.
- Releasing the string without an arrow safely pointed at the target. USA Archery says to release the bowstring only when an arrow is nocked and safely pointed toward the target.
- Drawing at an unsafe angle. NFAA rules prohibit drawing in a way that could send an accidentally released arrow beyond the safety zone or safety arrangement.
- Choking the grip. ATA beginner guidance describes a light grip, with the other three fingers relaxed and away from the bow.
- Moving the face to the string. World Archery beginner criteria say to let the string hand land on the face rather than reaching the chin or lips to the string.
- Pulling the string off line. ATA beginner guidance tells archers to pull the bowstring straight back and keep the line even with the forearm.
- Changing the anchor point. ATA guidance reminds beginners to draw the arrow back to the same place every time for consistency.
A simple practice checklist
Use this short checklist when a coach or range setup is available and it is safe to shoot:
- Bow pointed toward the target.
- Arrow nocked only when it is safe to shoot.
- Feet about shoulder width apart.
- Stable upright posture.
- Bow hand light, not clenched.
- Bow arm straight without locking the elbow.
- Draw straight back without moving the face to the string.
- String hand lands on the face.
- Same anchor every shot.
- Maintain posture through release and follow through.
- Notice the result and reset.
Before shooting at a range, club, class, or event, confirm the current range commands, safety rules, and equipment requirements with the range staff, coach, or organizing body.
Frequently asked questions
Should I draw a bow without an arrow to practice form?
No. NFAA range guideline examples say to always have an arrow nocked when drawing to avoid dry fire, and USA Archery says to release the bowstring only when an arrow is nocked and safely pointed toward the target.
What is a dry fire?
Hoyt defines a dry fire as drawing and releasing a bow without an arrow. Hoyt warns that shooting without an arrow can severely damage the bow and possibly injure someone.
How should my bow hand grip the bow?
ATA beginner guidance describes a light grip between the thumb and first finger, with the other three fingers relaxed and away from the bow.
Should I move my face to the string at full draw?
No. World Archery’s beginner manual tells beginners to let the string hand land on the face rather than reaching the chin or lips forward to the string.
How do I know if draw length is wrong?
ATA beginner guidance says draw length is too short if the string stops short of the archer’s face, and too long if the archer can pull the string past the face.
Sources
- USA Archery Club Handbook, USA ArcheryOfficial source. Accessed October 25, 2026.
- World Archery Beginners Manual, World ArcheryOfficial source. Accessed October 25, 2026.
- World Archery Beginners Awards Programme English, World ArcheryOfficial source. Accessed October 25, 2026.
- World Archery Coach’s Manual: Level 1, page 34, World ArcheryOfficial source. Accessed October 25, 2026.
- World Archery Coaching Manual Level 1, World ArcheryOfficial source. Accessed October 25, 2026.
- World Archery Coaching Manual Level 2, World ArcheryOfficial source. Accessed October 25, 2026.
- NFAA Range Guidelines and Round Summaries, National Field Archery Association USAOfficial source. Accessed October 25, 2026.
- NFAA Shooting Styles and Equipment Rules, National Field Archery Association USAOfficial source. Accessed October 25, 2026.
- Fine-Tune Your Beginner Archery Lessons, Archery Trade Association. Accessed October 25, 2026.
- Hoyt USA Recurve Owner’s Manual, HoytOfficial source. Accessed October 25, 2026.
- ClubHandbook 2nd Edition FINAL.pdf. Accessed October 25, 2026.