How to Sight In a Rifle Scope
To sight in, or zero, a rifle scope, shoot from a stable rest at a known distance and adjust the scope until point of impact matches your chosen point of aim. Start with safe setup, bore sight to get on paper, fire groups at 25 yards, adjust windage and elevation using your scope’s click values, then confirm at 100 yards or your chosen hunting zero distance.
By RaiS. Reviewed by RaiS. Published . 8 min read.
Research and drafting were assisted by AI. RaiS checked the facts against the sources below and approved this page.
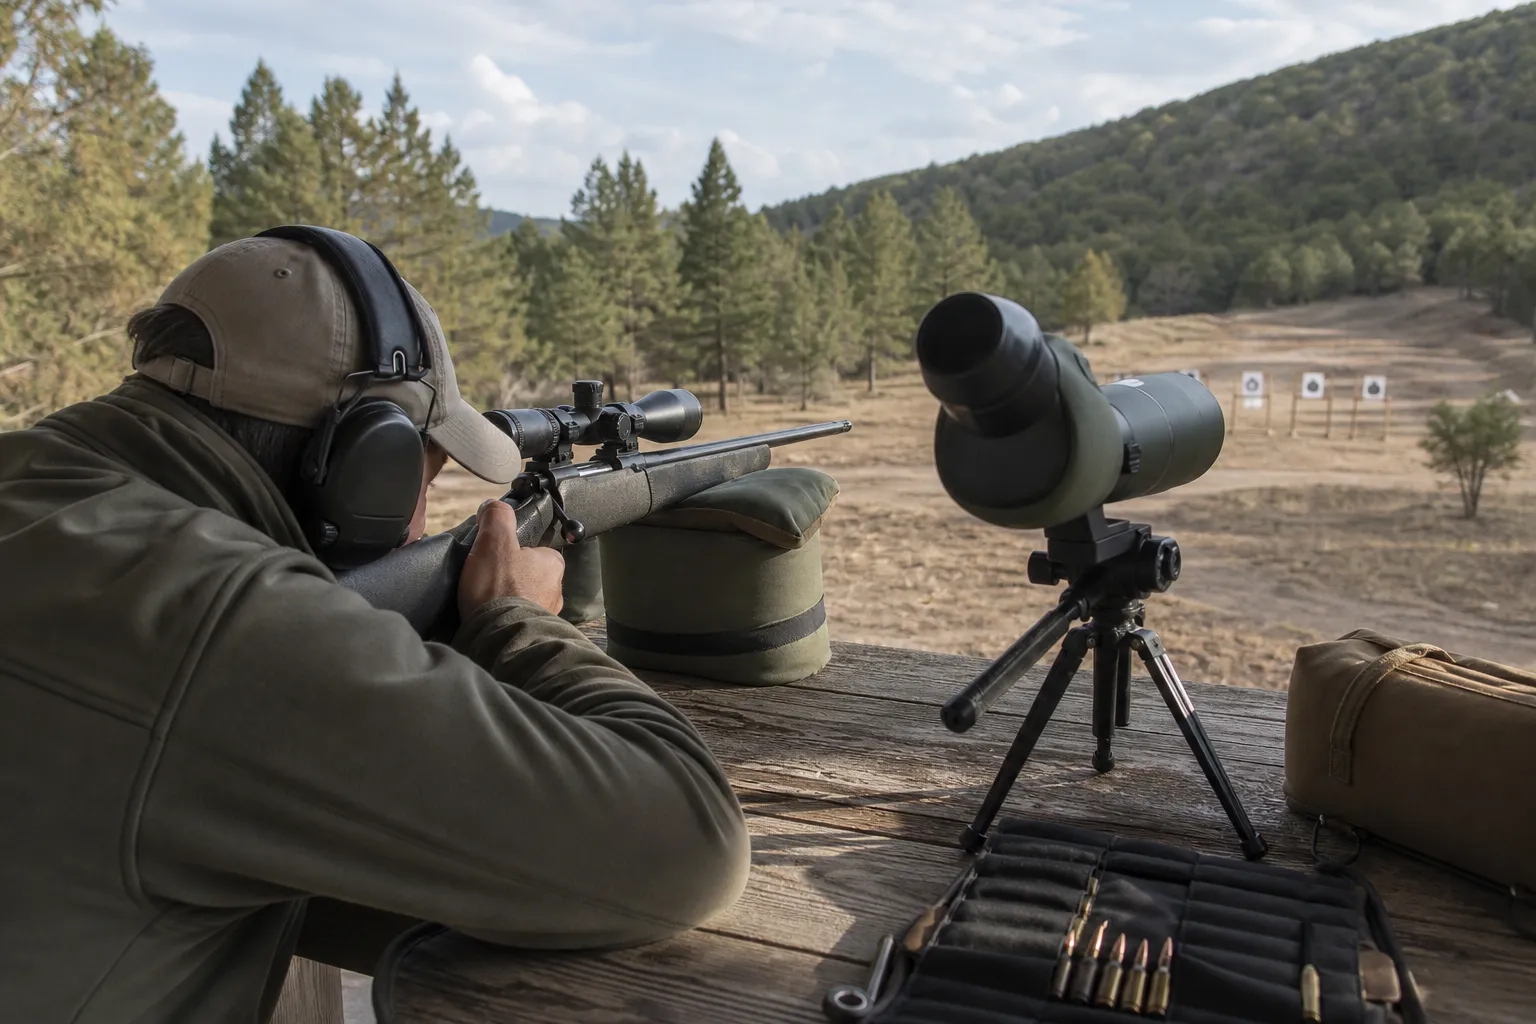
Sighting in a rifle scope means adjusting the sights so the rifle hits the target at a specific range. Hunter Ed defines “sighting-in” as adjusting the sights to hit a target at a specific range, and Texas Parks and Wildlife describes zeroing as making the rifle shoot to the point of aim at a specific distance. In practical terms, you are matching point of aim and point of impact at a distance you choose, commonly 100 yards for many hunting rifles.
1. Set up safely before you shoot
Start with the safety and range setup. Texas Parks and Wildlife says hunters should sight in and practice before hunting, and its sighting in equipment list includes proper ear and eye protection.
Use:
- A safe backstop.
- Proper ear and eye protection.
- A stable bench, rest, or other solid shooting support.
- Paper targets with a clear bullseye.
- The same ammunition you plan to use for hunting.
Texas Parks and Wildlife recommends paper targets with a bullseye and a one inch grid because the grid helps calculate scope adjustments. Leupold also recommends a large, high contrast target for sighting in.
A stable position matters because it reduces shooter error while you are trying to measure the rifle and scope. Leupold says an extremely stable platform is key to sighting in quickly and efficiently. Vortex recommends sandbags when possible.
Use the same ammunition you intend to use in the field. Texas Parks and Wildlife says to use exactly the same ammunition you will use when you hunt. Leupold’s owner manual also says final scope adjustments must be made by shooting the firearm with the same ammunition used in the field.
2. Choose your zero distance before you start
Decide what distance you are trying to zero for before you begin adjusting. Leupold recommends deciding the sight in distance before starting and says 50 or 100 yards are common choices. Hunter Ed gives the example that deer hunters often sight in rifles to hit the bullseye at 100 yards.
For hunting, choose a zero distance based on the cartridge, expected game distance, terrain, and your own limits. Texas Parks and Wildlife says a 100 yard zero may be suitable depending on cartridge, game, and terrain. It also notes that hunters often sight in one or two inches high at 100 yards so the rifle will be centered at 200 yards.
If your final zero will be farther away, Leupold recommends doing the initial sight in at a shorter distance. Texas Parks and Wildlife also recommends moving from 25 yards to 100 yards during the zeroing process, then shooting at 200 yards if the facility has that distance so you can understand longer range sighting and ammunition performance.
3. Bore sight to get on paper
Bore sighting is a preliminary alignment step. Leupold describes bore sighting as looking down the bore or barrel to align the scope, and cautions that it is only intended to get you on target. Vortex says bore sighting is an important step because it can get the first shot in the ballpark. Nightforce says bore sighting a new installation can save time and ammunition.
Bore sighting is not the final zero. Leupold’s owner manual says final adjustments must be made by shooting the firearm with the same field ammunition. Treat bore sighting as a way to reduce wasted time and ammunition, then confirm everything with live fire.
4. Fire your first group at 25 yards
A close range start helps you see where the rifle is printing before you move farther away. Texas Parks and Wildlife begins its zeroing procedure at 25 yards from a stable platform or bench.
Texas Parks and Wildlife instructs the shooter to fire three careful shots at the bullseye at the 25 yard step. It says the average of the three shots is the approximate point of aim for adjustment purposes. Leupold’s owner manual also uses a three-shot group to identify the shot pattern, and Nightforce says to fire at least a three-shot group at the desired close range zero distance.
Do not chase one poor shot. Use the center of the group. If the group is clearly away from the bullseye, measure from the group center to the desired point of impact and adjust from that measurement.
If the barrel becomes too hot during the process, Texas Parks and Wildlife says to take a break and let it cool.
5. Understand windage, elevation, MOA, and MIL clicks
Windage is the left and right adjustment. Elevation is the up and down adjustment. Texas Parks and Wildlife defines windage adjustments as left and right adjustments and elevation adjustments as up and down adjustments.
Scopes are marked with adjustment units such as MOA or MIL. Leupold’s owner manual says to make elevation and windage corrections based on the scope’s MIL or MOA adjustments.
NSSF defines MOA as an angular measurement that spreads about 1 inch per 100 yards, actually 1.047 inches. NSSF gives a simple calculation for MOA: target distance in yards divided by 100 equals inches per MOA at that distance. NSSF also notes that many retail scopes adjust in 1/4 MOA per click, while other click values exist.
That means you must read the markings or manual for your own scope. If a scope is 1/4 MOA per click, one click is about one quarter inch at 100 yards. At 25 yards, the adjustment is smaller on the target, and Nightforce says that if sighted in at 25 yards or meters, adjustments must be four times larger than they would be at 100 yards or meters.
Leupold says the letters on windage and elevation dials refer to the direction the bullet point of impact will move. Vortex gives the same practical correction: if the impact was high, dial down, if it was low, dial up, if it was left, dial right, and if it was right, dial left.
6. Make the 25 yard adjustment
After your 25 yard group, compare the group center to the point where you wanted the bullets to land. Use the target grid to estimate the difference. Texas Parks and Wildlife recommends a one inch grid because it helps calculate what adjustments to make to the scope settings.
Then adjust the scope in the direction you want the bullet impact to move. Use your scope’s click value, not a generic number. Leupold’s manual says corrections should be based on the scope’s MIL or MOA adjustments.
A simple MOA example, using NSSF’s MOA explanation:
| Distance | 1 MOA is about | If the scope is 1/4 MOA per click | |, -|, -:|, -:| | 25 yards | 0.25 inch | 4 clicks per 0.25 inch | | 100 yards | 1 inch | 4 clicks per 1 inch |
This table is only for a 1/4 MOA scope. Other scopes can use different click values.
After the adjustment, fire another careful group from the same stable rest. Keep using groups rather than a single shot to judge the adjustment.
7. Move to 100 yards and confirm
Once the rifle is close at 25 yards, move to 100 yards if that is your next sight in distance. Texas Parks and Wildlife says that after the 25 yard work, the shooter should move to a 100 yard range, set up new targets, and repeat the group and adjustment process.
At 100 yards, fire a careful group, find the group center, measure the correction needed, and adjust windage and elevation using your scope’s click value. Leupold’s owner manual says to fire a three-shot group to identify the shot pattern, then make windage and elevation corrections based on the scope’s MIL or MOA adjustments.
Repeat until the group center is where you want it for your chosen zero. If your goal is a 100 yard zero, that means the group center should match the desired point of aim at 100 yards. If your hunting plan calls for a different point of impact at 100 yards, such as the Texas Parks and Wildlife example of one or two inches high at 100 yards for a 200 yard center, confirm that with real shooting at the relevant distance when possible.
8. Confirm at longer distance if your hunt requires it
A 100 yard confirmation is not the same as knowing your impact at every distance. Texas Parks and Wildlife recommends shooting at 200 yards if the facility has that distance so you can understand your sighting at a longer range and your ammunition’s performance.
For a hunting rifle, do not choose a zero only because it sounds common. Texas Parks and Wildlife says satisfaction with a 100 yard zero depends on cartridge, game, and terrain.
9. Check zero before each season, hunt, and after hard handling
Do not assume last year’s zero is still correct. Hunter Ed says all rifles should be sighted in before every hunt using the ammunition you plan to use. It also warns that a rifle sighted in before the last outing could have been knocked out of alignment by a single jolt.
Texas Parks and Wildlife also says hunters should sight in and practice before hunting. A final check before the season, before a hunt, or after a jolt or hard handling is part of responsible preparation.
Quick step by step checklist
- Set up at a range with a safe backstop, proper ear and eye protection, and a stable rest.
- Use the same ammunition you plan to use for hunting.
- Choose your intended zero distance before starting.
- Use a large, high contrast paper target, preferably with a one inch grid.
- Bore sight only to get on paper.
- Start at 25 yards when appropriate.
- Fire a careful three-shot group.
- Measure from the group center, not from one stray shot.
- Adjust windage and elevation using your scope’s MOA or MIL click value.
- Fire another group to confirm the adjustment.
- Move to 100 yards and repeat the group and adjustment process.
- Confirm at longer distance if your hunting plan requires it and the facility allows it.
- Recheck zero before hunting and after any jolt or hard handling.
What to check in official sources
Read your own scope manual for the exact click value and dial directions. Check the range’s safety rules before shooting. For hunting, confirm current rules, seasons, equipment requirements, and any sighting in or discharge restrictions with the state, provincial, territorial, or federal wildlife agency for the place you will hunt.
Frequently asked questions
What does it mean to sight in or zero a rifle scope?
Hunter Ed defines sighting in as adjusting the sights to hit a target at a specific range. Texas Parks and Wildlife describes zeroing as making the rifle shoot to the point of aim at a specific distance.
Should I sight in at 25 yards or 100 yards?
Texas Parks and Wildlife starts the process at 25 yards, then moves to 100 yards and repeats the group and adjustment process. Leupold recommends deciding the sight in distance before starting and says 50 or 100 yards are common choices.
Is bore sighting enough to zero a scope?
No. Leupold says bore sighting is only intended to get you on target. Leupold’s owner manual says final adjustments must be made by shooting the firearm with the same ammunition used in the field.
How many shots should I fire when zeroing?
Texas Parks and Wildlife instructs firing three careful shots at the bullseye at the 25 yard step and using the average of the three shots for adjustment. Leupold’s owner manual also uses three-shot groups to identify the shot pattern.
Which way do I turn the scope adjustment?
Use the markings and manual for your specific scope. Leupold says the dial letters show the direction the bullet point of impact will move. Vortex says to dial down for a high impact, up for a low impact, right for a left impact, and left for a right impact.
How often should I check my rifle zero?
Hunter Ed says all rifles should be sighted in before every hunt using the ammunition you plan to use. It also warns that a rifle can be knocked out of alignment by a single jolt.
Sources
- Sighting-In a Rifle, Hunter Ed, National Hunter Safety Course. Accessed October 20, 2026.
- Sighting in your rifle, Texas Parks and Wildlife DepartmentOfficial source. Accessed October 20, 2026.
- How To Sight In A Riflescope, LeupoldOfficial source. Accessed October 20, 2026.
- Riflescope Owner’s Manual, LeupoldOfficial source. Accessed October 20, 2026.
- Tactical Riflescope Manual, LeupoldOfficial source. Accessed October 20, 2026.
- How To Sight in Your Rifle in 3 Shots or Less, Vortex OpticsOfficial source. Accessed October 20, 2026.
- FAQs, Vortex OpticsOfficial source. Accessed October 20, 2026.
- Minute of Angle, MOA, NSSF. Accessed October 20, 2026.
- Riflescope Support, LeupoldOfficial source. Accessed October 20, 2026.
- SHV Owner’s Manual, Nightforce OpticsOfficial source. Accessed October 20, 2026.
- Ontario’s Hunter Education Manual, Ontario Hunter Education ProgramOfficial source. Accessed October 20, 2026.
- Northwest Territories Summary of Hunting and Trapping Regulations, Government of Northwest TerritoriesOfficial source. Accessed October 20, 2026.