How to Zero a Red Dot Sight: 25, 50 and 100 Yard Zeros
Zeroing a red dot means adjusting the sight so point of aim and point of impact meet at a chosen distance. The best zero distance depends on the firearm, optic height, ammunition and how far you can safely confirm with live fire.
By RaiS. Reviewed by RaiS. Published . 8 min read.
Research and drafting were assisted by AI. RaiS checked the facts against the sources below and approved this page.
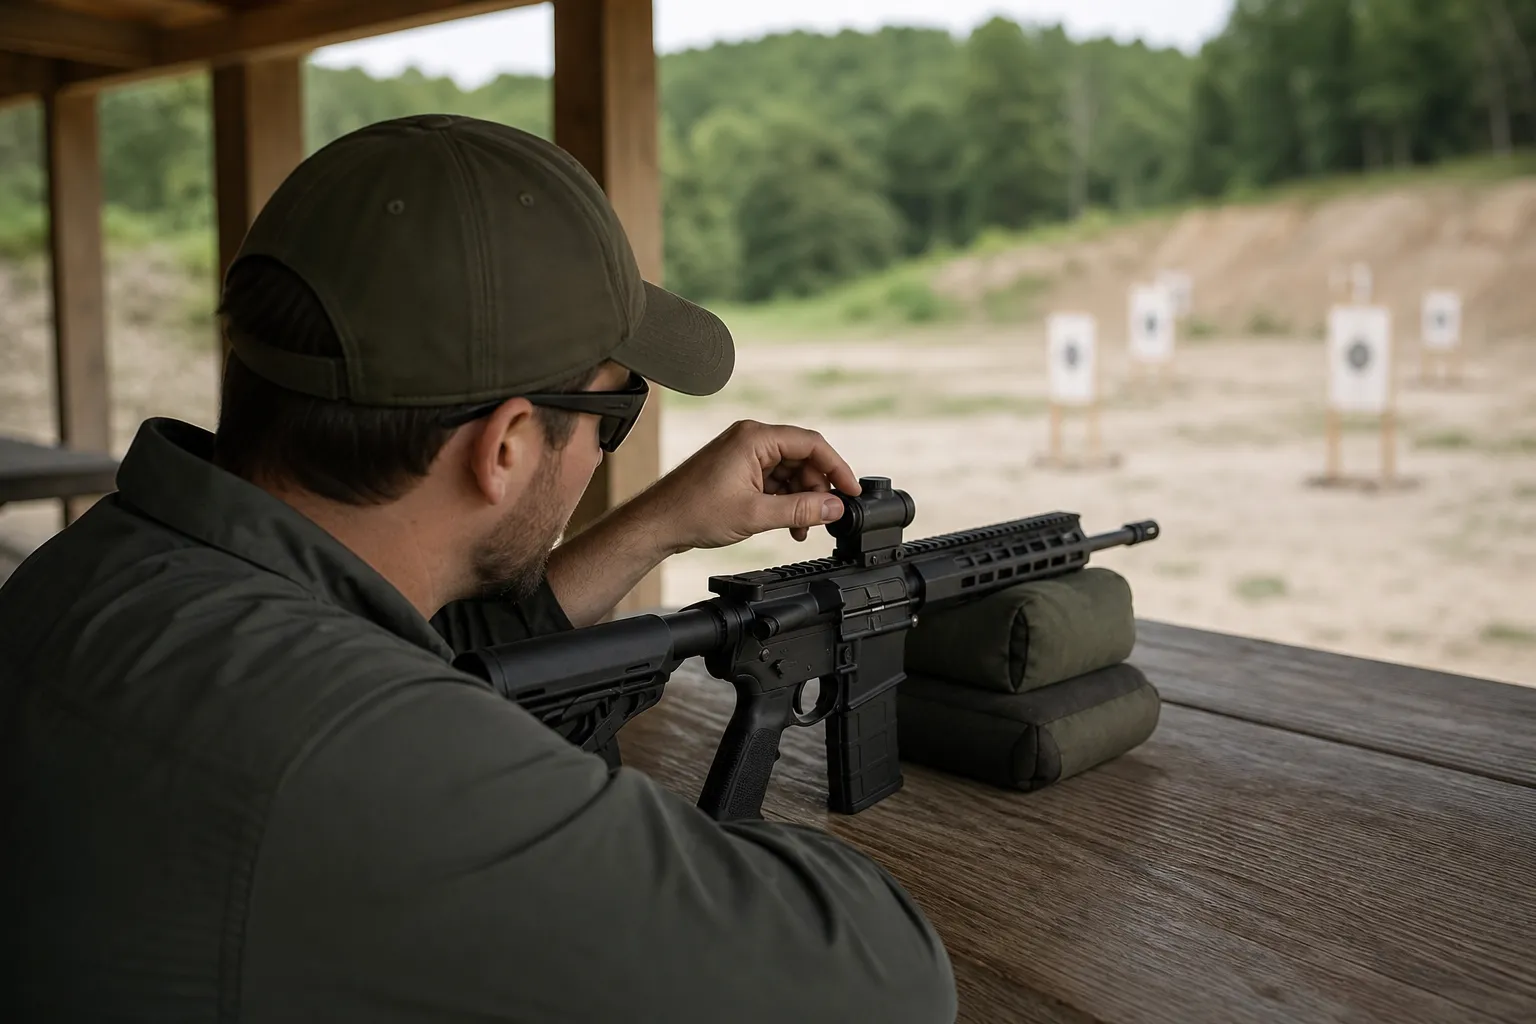
Zeroing a red dot sight means choosing a distance, aiming at a precise point and adjusting the sight until the bullet’s point of impact matches that point of aim at that distance. A 25, 50 or 100 yard zero can all be useful, but none is universal. The right answer depends on your firearm, red dot height over the bore, ammunition and the distance where you can safely confirm with live fire.
What zeroing a red dot means
Hornady defines zero range as the exact distance from muzzle to target where the rifle was zeroed. In plain language, your zero is the distance where the dot and the group center meet.
A red dot gives you a line of sight. The bullet follows a trajectory. Federal describes trajectory as the arc a bullet follows after it leaves the muzzle, and explains that bullets appear to rise because the barrel is angled upward relative to the line of sight.
That is why the bullet path can cross the line of sight twice. Federal’s rifle ammunition basics material shows the bullet crossing the line of sight once near the muzzle on the way up and again downrange at the zero distance. The closer crossing is often called the near zero, and the later crossing is often called the far zero.
This does not mean every rifle, red dot and load will behave the same way. Hornady’s ballistic calculator instructions treat sight height and zero range as important inputs. Federal’s ballistics calculator also requires firearm setup inputs that include sight height and zero range.
Why height over bore matters
Height over bore is the vertical distance between the sighting system and the bore. Hornady defines sight height as the exact height from the center of the scope to the center of the rifle bore.
That offset matters most up close.
Mount height is not identical across optics and mounts. For example, SIG Sauer’s ROMEO5 manual lists a nominal mount height to optical axis of 1.41 inches with its riser mount. The same optic manual says the sight has infinite eye relief and can be mounted anywhere on the rail based on user preference.
Choosing a zero distance
A zero distance is a practical choice, not a magic setting. Choose a distance you can shoot safely, then confirm it with your own firearm and ammunition. Federal notes that different ammunition can change point of impact and require re-sighting.
25 yards or 25 meters
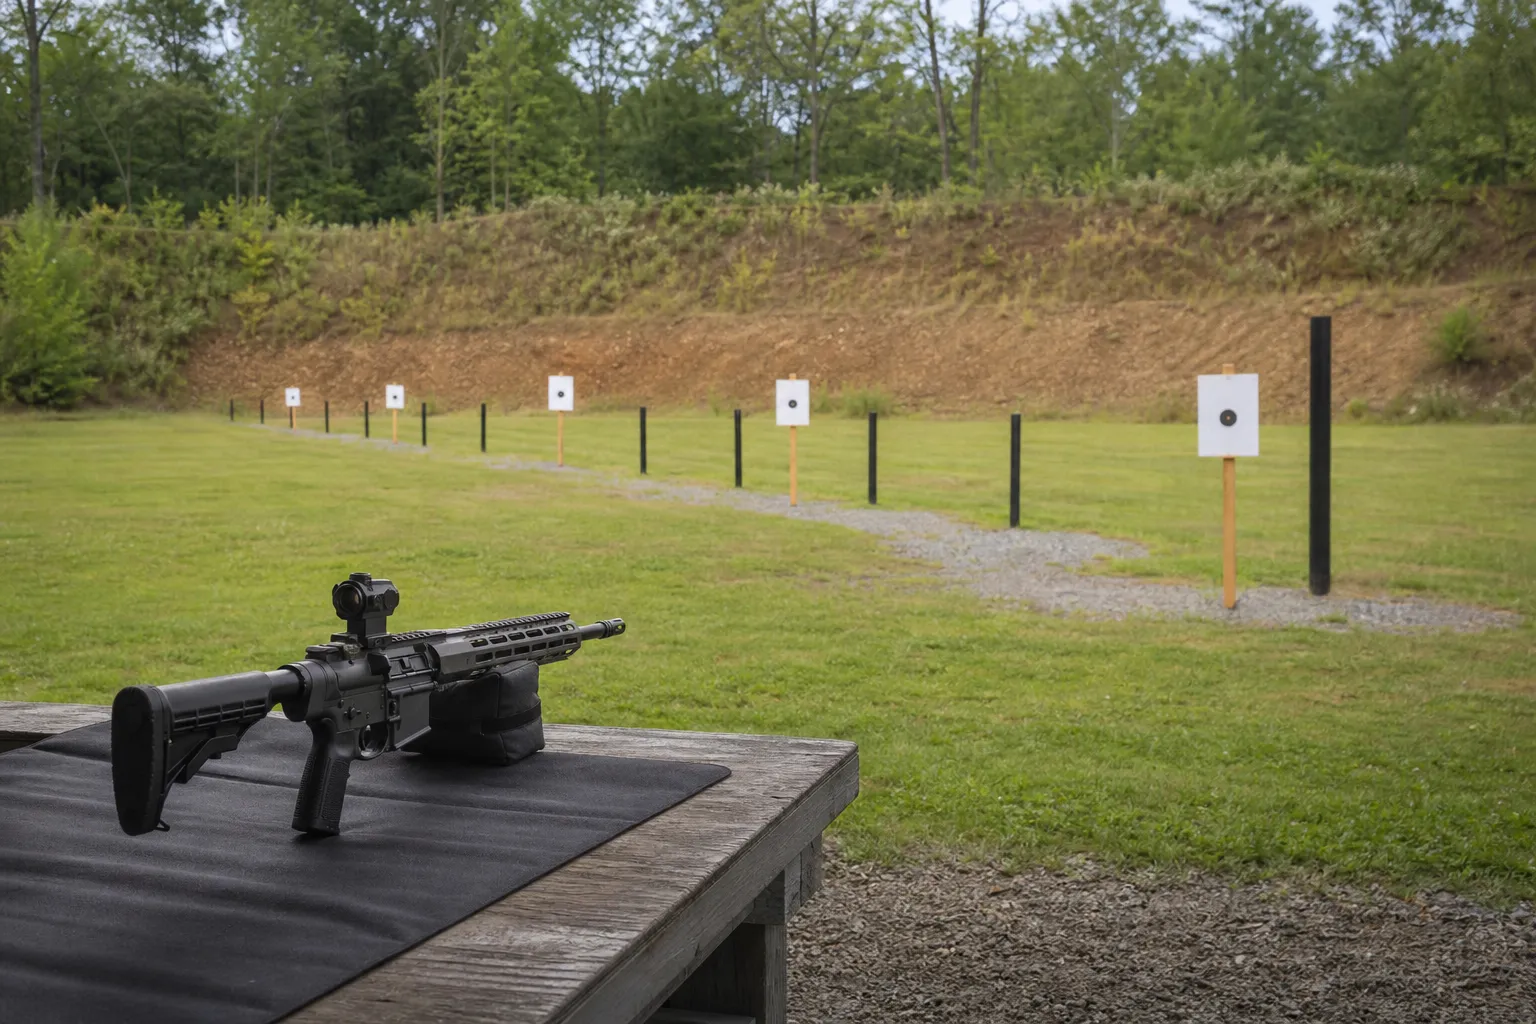
A 25 yard or 25 meter start is popular because it helps many shooters get on paper before moving farther out. Aimpoint’s red dot zeroing procedure starts by setting the target at 25 meters, and Aimpoint’s zeroing target system supports 25 m, 50 m and 100 m distances.
A close zero also makes sight offset obvious. At close distance, the bullet may still be below the line of sight, especially with a rifle-mounted red dot that sits well above the bore.
Use this distance as a starting point or as the actual zero only if it matches your need. Then verify what it does at farther distances before relying on it.
36 yards
The 36 yard zero is often discussed, but it should not be treated as a universal red dot rule.
For a civilian red dot, a 36 yard zero should be confirmed with your firearm, mount height and ammunition.
50 yards
A 50 yard zero is a common red dot confirmation distance because it is far enough to show real adjustment error, but still available on many ranges. EOTECH’s laser bore sight guidance says to complete the zero with live fire at 50 yards using the center dot for point of aim.
EOTECH also says the center of the window is the correct place for zeroing the sight because viewing through the center gives the least parallax error.
As with any zero, do not assume the downrange path from a chart or another shooter’s setup. Confirm it with live fire.
100 yards
A 100 yard zero is simple to understand because many MOA references are stated at 100 yards. SAAMI defines one minute of angle as one sixtieth of a degree and 1.047 inches at 100 yards, which is commonly treated as one inch for practical shooting.
Aimpoint’s zeroing target system supports 100 m, and Federal’s ballistics calculator uses zero range as an input. A 100 yard zero can also make it easy to compare your point of impact with ballistic calculator output, since Federal’s calculator can output elevation and windage in inches, MOA or MIL.
The trade-off is that a 100 yard zero needs a safe 100 yard range and a stable enough setup to see group center clearly.
Understanding clicks, MOA and point of impact
Most red dot sights adjust in angular units. SAAMI defines MOA as one sixtieth of a degree, and NSSF explains that MOA is angular, so its linear size changes with distance.
NSSF gives a simple estimate for inches per MOA: distance to target in yards divided by 100. So 1 MOA is about 1 inch at 100 yards, about 1/2 inch at 50 yards and about 1/4 inch at 25 yards. EOTECH states the same practical idea by noting that 1 MOA is nearly 1 inch at 100 yards.
Read your own optic manual before turning adjustments. Red dots do not all use the same click value.
| Example optic information | Adjustment value listed |
|---|---|
| SIG Sauer ROMEO5 manual | 0.5 MOA per click |
| Vortex Crossfire Red Dot product specifications | 1 MOA adjustment graduation |
| EOTECH HWS help center | approximately 0.5 MOA increments |
| Leupold DeltaPoint Pro manual | 1 MOA per click |
NSSF says shooters should calculate the MOA adjustment needed first, then convert that to clicks based on the particular scope or sight. For a deeper comparison of angular units, use our MOA vs MIL comparison rather than trying to memorize every conversion.
Once you start live firing, think in terms of moving the bullet impact. Vortex tells shooters to dial turrets by thinking about moving the bullet’s point of impact rather than the point of aim. Aimpoint gives the same practical guidance in its zeroing directions: follow the marked arrow to move point of impact right or up on models marked UP-R. SIG Sauer’s ROMEO5 manual also states its elevation and windage directions in terms of raising or shifting point of impact.
If the dot looks like a starburst, Vortex notes that the brightness intensity may be too high for the environment. Lowering brightness can make the aiming point easier to center precisely.
Safe bench procedure for zeroing a red dot
Use a safe range, a known distance and a solid rest. Aimpoint recommends placing the firearm in a solid rest while zeroing a red dot. NSSF’s safety rules also apply throughout the process: keep the muzzle pointed in a safe direction, use the correct ammunition, be sure of your target and what is beyond it, and wear eye and ear protection.
Confirm the firearm is unloaded before setup. Leupold’s DeltaPoint Pro manual instructs users to remove or empty the magazine, open the action and confirm there is not a round in the chamber before installation. Keep the muzzle pointed in a safe direction.
Check the optic and mount. Make sure the sight is properly mounted according to its manual. SIG Sauer’s ROMEO5 troubleshooting section says point-of-impact changes between groups can be caused by the mount, firearm or ammunition.
Choose your first distance. If you are new to the setup, start close enough to get on paper. Aimpoint’s red dot procedure starts at 25 meters, and EOTECH’s live-fire guidance completes zero at 50 yards. Use the distance that matches your range and your intended zero plan.
Use the correct ammunition. NSSF says to use only ammunition that matches the firearm manufacturer’s markings and manual. Federal notes that changing ammunition can change point of impact and require re-sighting.
Boresight only as a starting aid. Boresighting can help get shots on paper, but EOTECH’s mechanical zero guidance says final zero should be verified using live fire. Leupold’s boresighting safety guidance also says to confirm the firearm is empty and to remove the boresighter before loading.
Fire a careful group from the rest. Aim at the same point for each shot. EOTECH says to use the center dot for point of aim when completing a live-fire zero at 50 yards. EOTECH also says viewing through the center of the window gives the least parallax error.
Measure the group center. Do not adjust from a single unclear shot if your group does not show a clear center. Compare the group center to your point of aim.
Convert the correction to MOA, then clicks. Use NSSF’s distance divided by 100 estimate to find the approximate inches per MOA at that distance. Then divide the needed MOA correction by your optic’s click value. For example, an optic with 0.5 MOA clicks needs two clicks for each MOA of correction.
Dial to move point of impact. Follow the optic maker’s markings and manual. The adjustment direction is about where the bullet impacts, not where the dot appears to move.
Repeat and confirm. Aimpoint’s procedure has the shooter fire, inspect point of impact, adjust clicks and repeat until centered. After the close-distance work, confirm at the actual zero distance you chose.
If you are also learning a magnified optic, see our How to Sight In a Rifle Scope guide for the broader riflescope process.
Common zeroing problems to check
If your groups move unexpectedly, start with the basics. SIG Sauer’s ROMEO5 manual lists mount, firearm and ammunition issues as possible causes of point-of-impact changes between groups.
If the dot is hard to aim, check brightness. Vortex notes that a starburst appearance can come from brightness being too high for the environment.
If the math seems wrong, recheck the distance, click value and whether you are moving point of impact in the correct direction. Aimpoint notes that the number of clicks per target square depends on the target distance, and NSSF says to calculate MOA first before converting to clicks.
What to confirm before you rely on the zero
Confirm the final zero with live fire at the actual distance you intend to use. Check your firearm manual, ammunition markings, optic manual, range rules and target backstop before shooting. If you use a ballistic calculator, enter the correct zero range, sight height and firearm setup information, and remember that predicted trajectories still need confirmation on the range.
Frequently asked questions
What does it mean to zero a red dot?
Zeroing means adjusting the sight so point of aim and point of impact meet at a chosen distance. Hornady defines zero range as the exact distance from muzzle to target where the rifle was zeroed.
Why can a bullet cross the line of sight twice?
Federal explains that trajectory is an arc and that the barrel is angled upward relative to the line of sight. In the illustrated trajectory, the bullet path crosses the line of sight once near the muzzle and again at the downrange zero.
How many clicks do I need to adjust a red dot?
First calculate the MOA correction at your target distance, then convert that to clicks using your optic’s manual. For example, SIG Sauer lists 0.5 MOA clicks for the ROMEO5, while Leupold lists 1 MOA per click for the DeltaPoint Pro.
Can I zero with a boresighter only?
No. EOTECH says final zero should be verified using live fire. Boresighting can help get on paper, but the final zero should be confirmed at the chosen distance.
Sources
- Zeroing your red dot sight, AimpointOfficial source. Accessed October 26, 2026.
- Step-by-step guide, AimpointOfficial source. Accessed October 26, 2026.
- ROMEO5 Owner’s Manual, SIG Sauer. Accessed October 26, 2026.
- Crossfire Red Dot, Vortex OpticsOfficial source. Accessed October 26, 2026.
- FAQs, Vortex OpticsOfficial source. Accessed October 26, 2026.
- EOTECH Help Center, EOTECHOfficial source. Accessed October 26, 2026.
- DeltaPoint Pro Reflex Sight Mounting and Operation Instructions, Leupold. Accessed October 26, 2026.
- Minute of Angle (M.O.A.), SAAMIOfficial source. Accessed October 26, 2026.
- Minute of Angle (MOA), NSSFOfficial source. Accessed October 26, 2026.
- 4DOF Instructions, Hornady ManufacturingOfficial source. Accessed October 26, 2026.
- Ballistics Calculator, Federal PremiumOfficial source. Accessed October 26, 2026.
- Rifle Ammunition Basics, Federal Premium. Accessed October 26, 2026.
- Offset, SIG SauerOfficial source. Accessed October 26, 2026.
- MCRP 3-1A Rifle Marksmanship, U.S. Marine Corps. Accessed October 26, 2026.
- FM 3-22.9 Rifle Marksmanship, M16-/M4-Series Weapons, U.S. Army. Accessed October 26, 2026.
- Firearm Safety, 10 Rules of Safe Gun Handling, NSSFOfficial source. Accessed October 26, 2026.